
All The Mods 10 is one of the most popular Minecraft modpacks available, but getting it set up correctly can trip up new players. The good news is that CurseForge makes the process straightforward once you know where to look. This guide walks through every step to get ATM10 installed and running on CurseForge.
How to Install All The Mods 10 on CurseForge
Before starting, make sure CurseForge is already installed on your system. Haven’t got it set up yet? See the guide on how to install CurseForge before continuing.
-
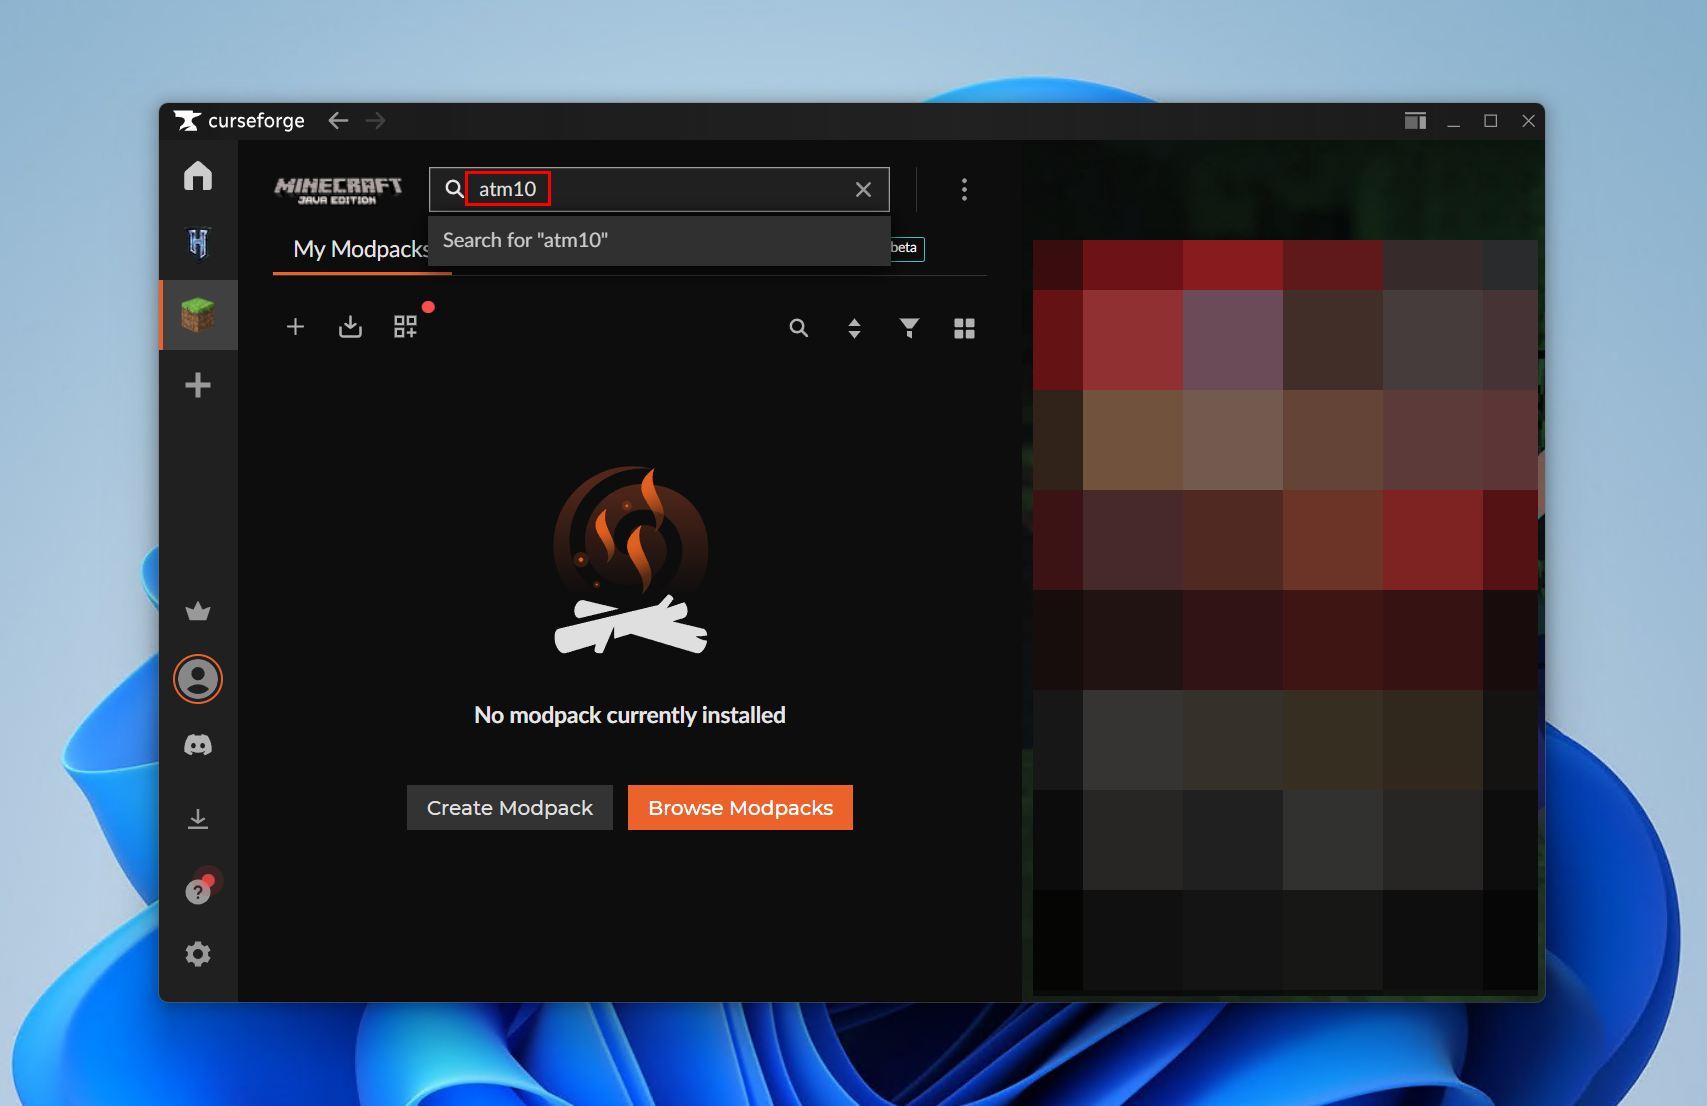
- Open the CurseForge application and select Minecraft from the games list on the left sidebar.

- Type ATM10 into the search bar. The modpack should appear near the top of the results – we want the one created by ATMTeam.
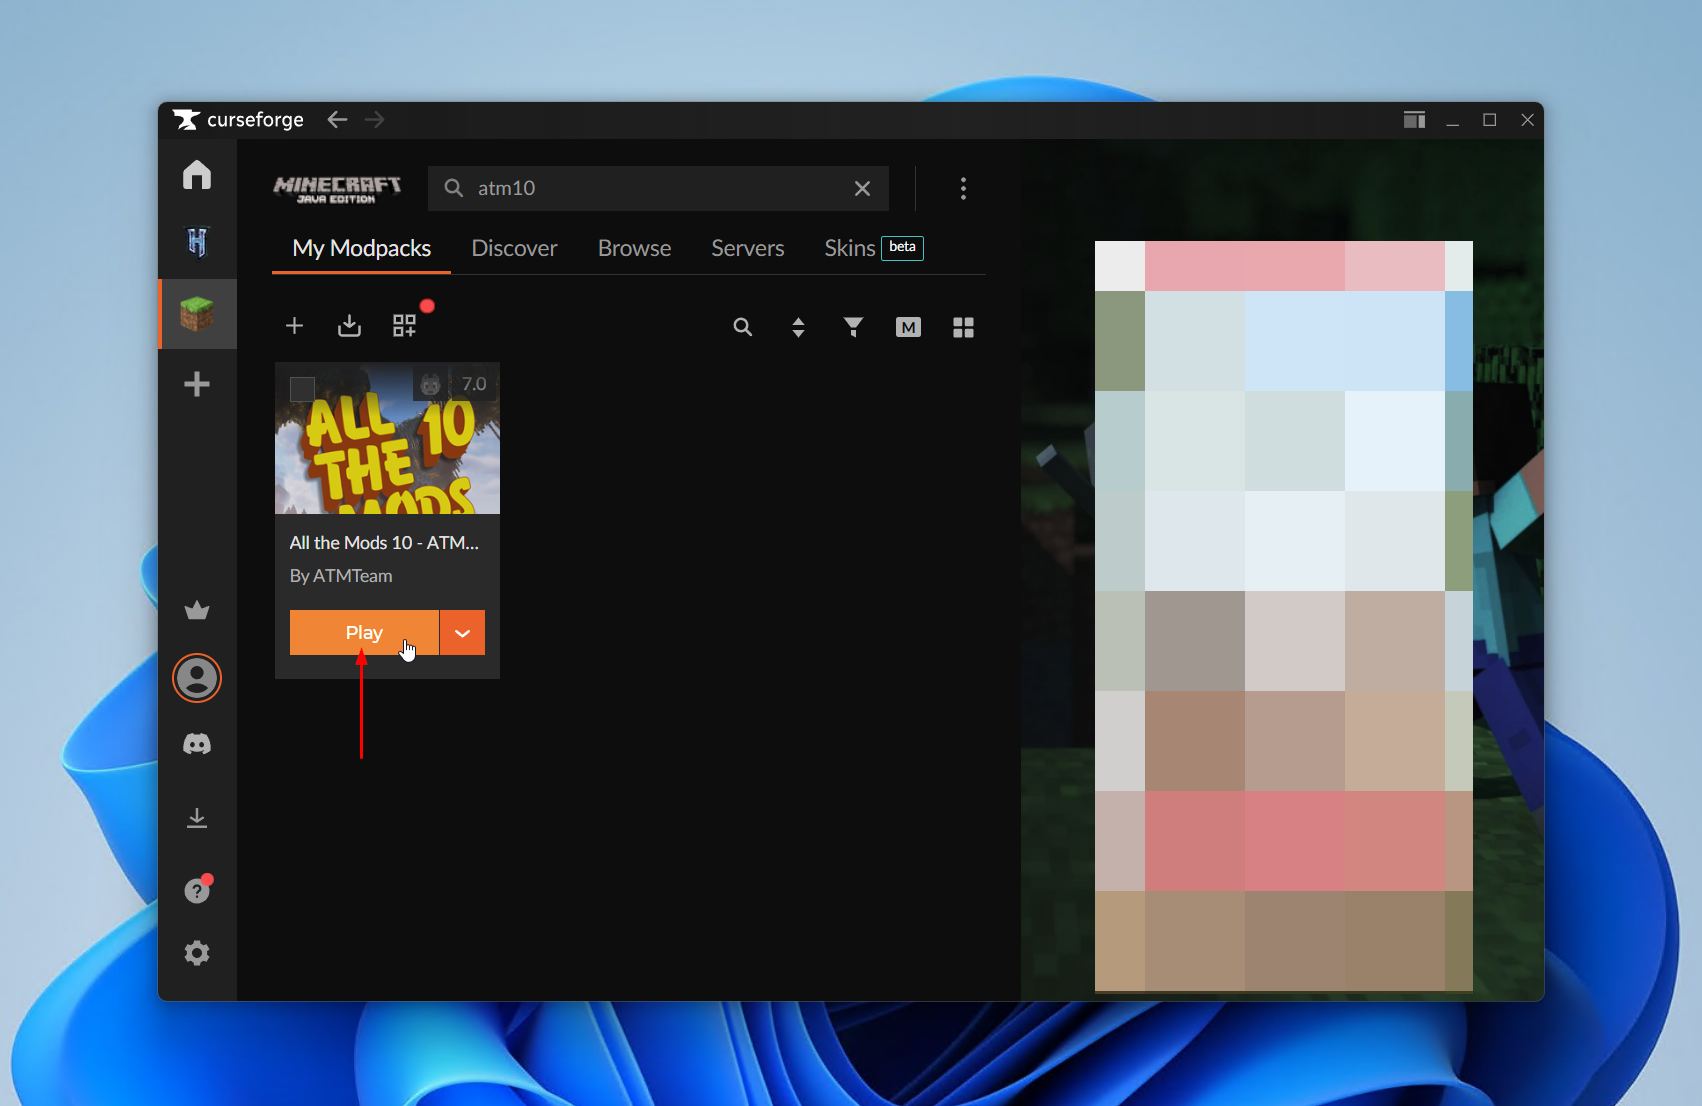
- Click the Install button on All the Mods 10 – ATM10. This will download and install the latest version. Alternatively, click into it and go to the Versions section to download an older one.

- Once the installation is complete, click Play to launch All The Mods 10. CurseForge will open the Minecraft launcher with the correct profile loaded.
- Open the CurseForge application and select Minecraft from the games list on the left sidebar.
Conclusion
Installing All The Mods 10 on CurseForge takes only a few steps. Search for the modpack, install it through the CurseForge browser, and launch it directly from the app. From there, the modpack is ready to play.
After installing All The Mods 10, consider setting the RAM in CurseForge for the best performance. ATM10 is a large modpack and benefits significantly from a higher memory allocation.