If you’re new to Minecraft modding, CurseForge is one of the best places to start. It’s a dedicated mod manager that handles downloading, updating, and launching modpacks so you don’t have to juggle files manually. This guide walks you through installing CurseForge on Windows 11 or Windows 10, step by step, and also covers how to uninstall it cleanly if anything goes wrong along the way.
What You’ll Need Before Installing
Before getting started, make sure you have the following:
- A Windows 10 or Windows 11 PC
- A stable internet connection
- Enough free storage for your modpacks (this varies, but 10GB+ is a safe starting point)
How to Install CurseForge on Windows
The process for installing CurseForge on Windows 11 and Windows 10 is essentially the same. Follow the steps below to get set up.
Step 1: Download the CurseForge Installer
- Open your browser and go to the official CurseForge website. Go to the download page. Always download from the official source to avoid corrupted or modified files.
- Click the Download Standalone button. The site should detect your operating system automatically. If it doesn’t, select Windows manually from the available options.
- Save the installer file to a location you can find easily. Your Downloads folder works fine.
Step 2: Run the Installer
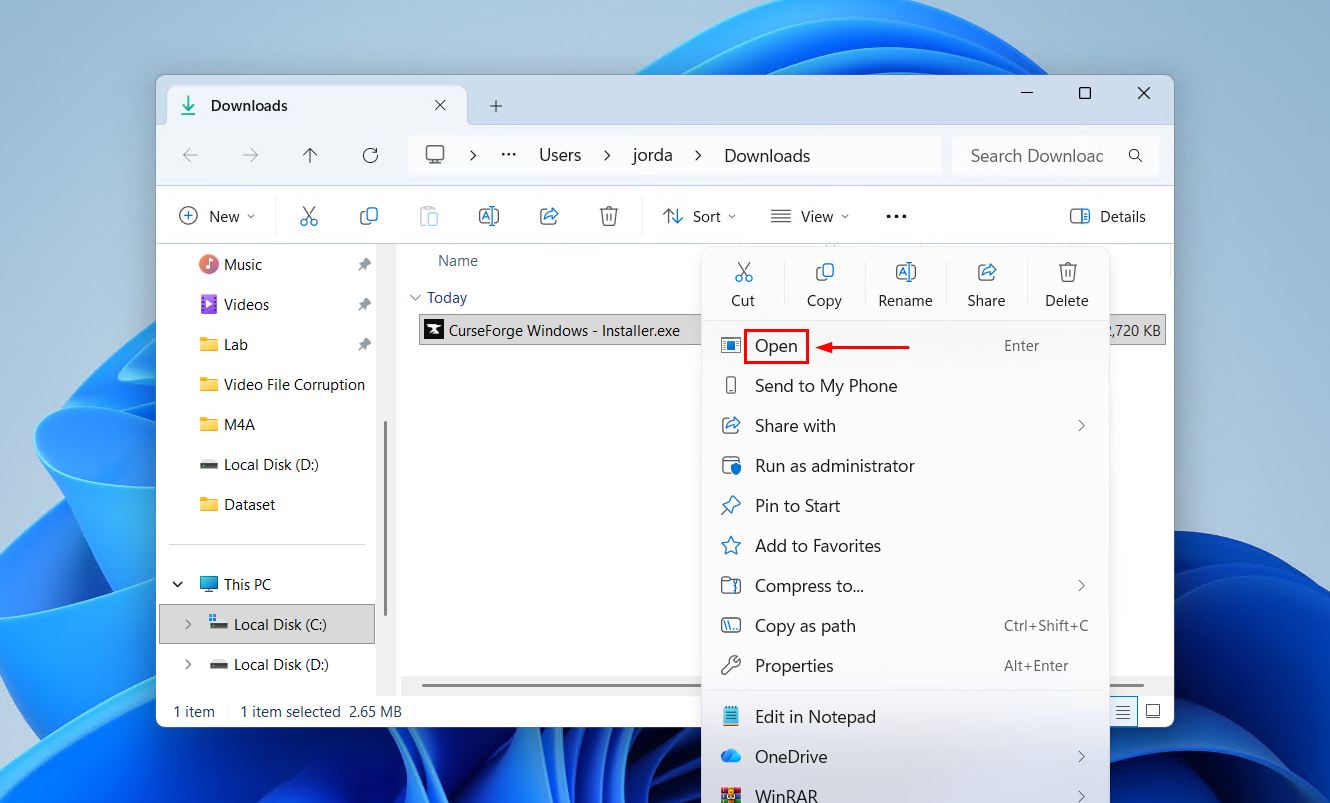
- Locate the downloaded installer file. It will typically be named something like CurseForge Windows – Installer.exe.
- Open the file to launch the installer. If Windows asks for permission via a User Account Control (UAC) prompt, click Yes to allow it.
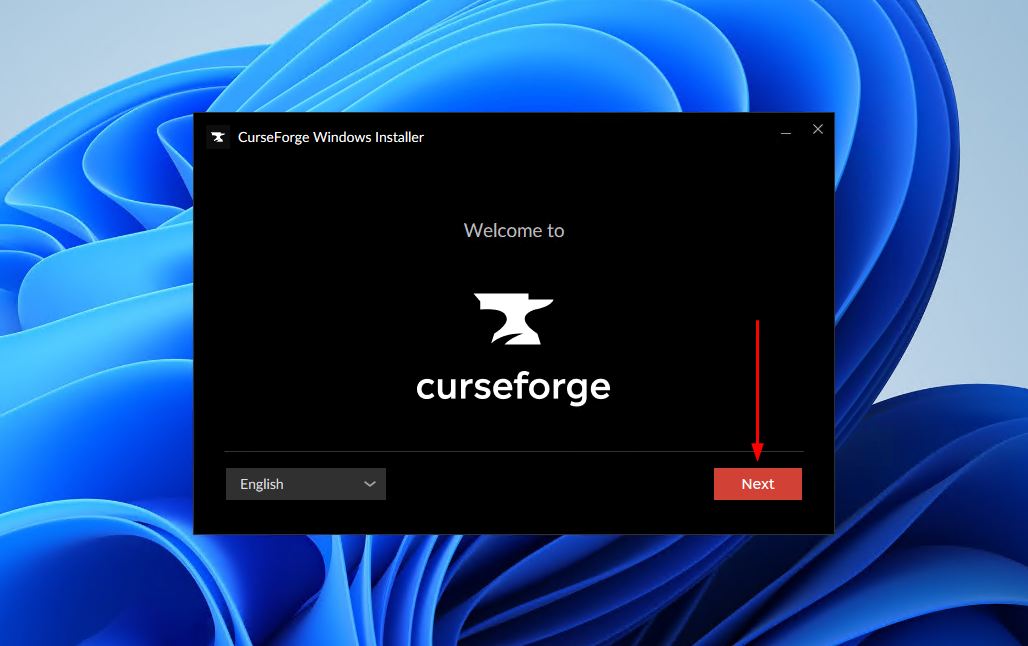
- Click ‘Next’. Change your language in the bottom-left corner if necessary.
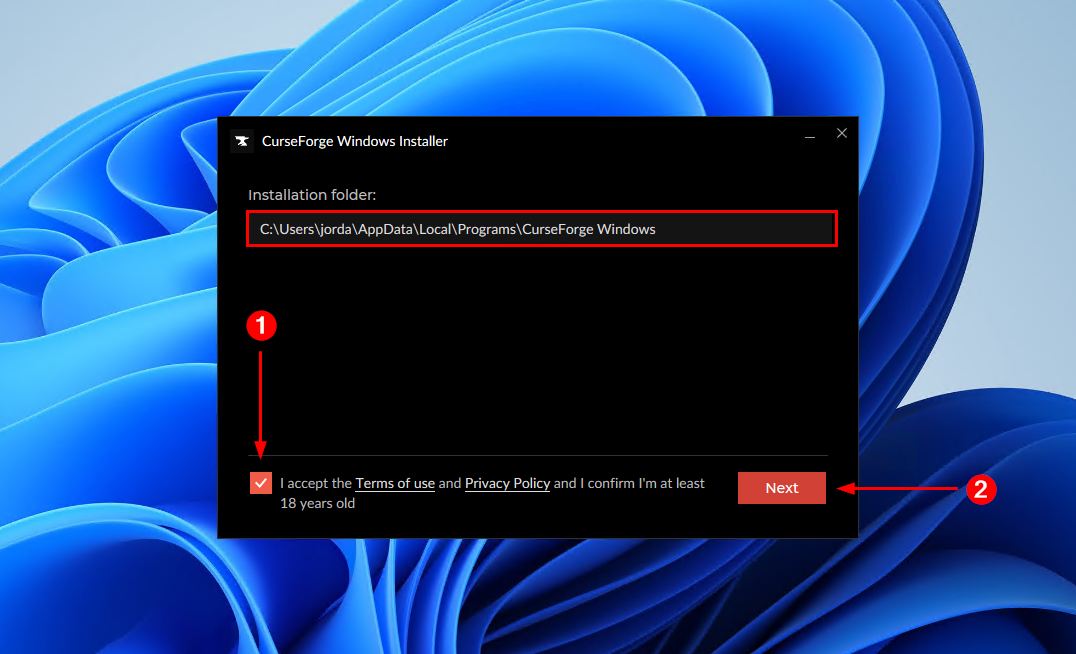
- Choose the install location. The default one is fine. Tick the checkbox and then click ‘Next’.
Step 3: Launch CurseForge
- Open CurseForge after installation finishes. It may launch automatically, or you can find it in your Start menu or on your Desktop.
- Click ‘Continue’ to skip the splash screen.

- Click ‘Continue’ to skip the next screen.

- Get started. Choose ‘Continue As Guest’ if you don’t have or want an account, or ‘Log In’ to log in.

Once CurseForge is installed, you can get started downloading modpacks. Before you dive in, make sure any modpack you run has been dedicated enough RAM. Check out our guide on how to set the RAM for Minecraft in CurseForge for an example.
How to Uninstall CurseForge on Windows
If something goes wrong during setup, or if CurseForge isn’t behaving as expected, the cleanest fix is to uninstall it and start fresh. When you reinstall, download the installer file again directly from the official CurseForge website. This ensures you’re working with a fresh, uncorrupted copy.
Step 1: Uninstalling CurseForge on Windows 11
- Open the Settings app. Press the Windows key and click the gear icon, or press Windows + I.
- Navigate to Apps, then Installed apps. Use the search bar at the top to filter the list if needed.
- Find CurseForge in the list. Click the three-dot menu to the right of it and select Uninstall.
- Confirm the uninstall when prompted. Follow any remaining steps in the uninstaller.
Step 2: Uninstalling CurseForge on Windows 10
- Open the Control Panel. Press the Windows key, type “Control Panel,” and click the first result.
- Click Programs, then Programs and Features. This opens the full list of installed software.
- Locate CurseForge in the list. Click on it to select it, then click Uninstall at the top of the list.
- Follow the uninstaller prompts to complete the removal.
Cleaning Up Leftover Files (Optional)
After uninstalling, some files may remain on your system. If you want a completely clean slate:
- Open File Explorer and navigate to your AppData folder. Press Windows + R, type
%appdata%
and press Enter.
- Look for a CurseForge folder and delete it if it exists.
- Also check the Local AppData folder. Press Windows + R, type
%localappdata%
and press Enter. Delete any CurseForge folder there as well.
Once those folders are removed, you’re ready to reinstall from scratch using a fresh download from the official site.
Conclusion
Installing CurseForge on Windows 10 or Windows 11 is a straightforward process that takes just a few minutes. Download the installer from the official site, run it, and you’re ready to start browsing modpacks. If anything goes wrong, uninstalling and reinstalling with a fresh download resolves most issues.
Here’s a quick recap:
- Always download CurseForge from the official source to avoid corrupted files
- The installation steps are the same whether you’re installing CurseForge on Windows 11 or Windows 10
- After installing, allocate enough RAM to your modpacks before launching them
- If reinstalling, clear out leftover AppData folders for a clean start