Finding the background settings in Windows 11 isn’t immediately obvious, especially if you’re coming from an older version of Windows. The options have moved around, and the new Settings app layout can make it hard to know where to start. Fortunately, a quick right-click on the desktop gets you there in seconds. This article walks through every background option available in Windows 11, including how to set a picture, a solid color, or a slideshow, and explains what to do if the option to change wallpaper in Windows 11 appears grayed out or unavailable.
How to Change Background in Windows 11
The process is straightforward once you know where to look. The steps below apply to Windows 11 on most standard configurations and cover everything from opening the right settings panel to choosing how your image is displayed. While personalizing the desktop, users may also want to show or hide desktop icons to get the look they’re after.
Accessing Background Settings
The fastest way to reach the background settings is directly from the desktop itself.
- Right-click on an empty area of the desktop to open the context menu.
- Select Personalize from the menu. This opens the Personalization section in the Windows Settings app.
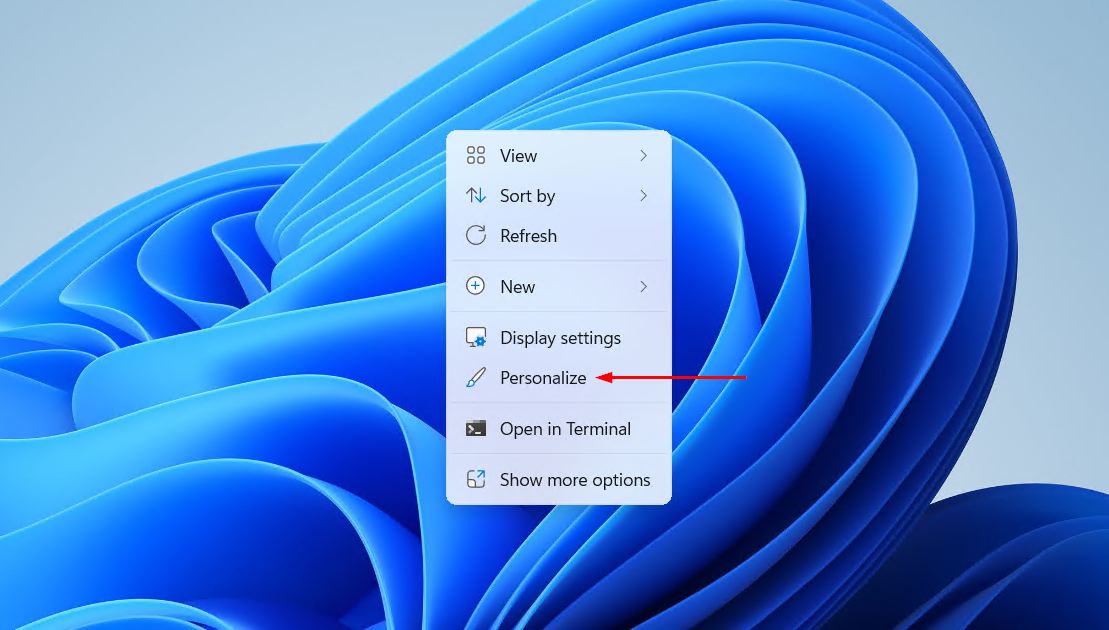
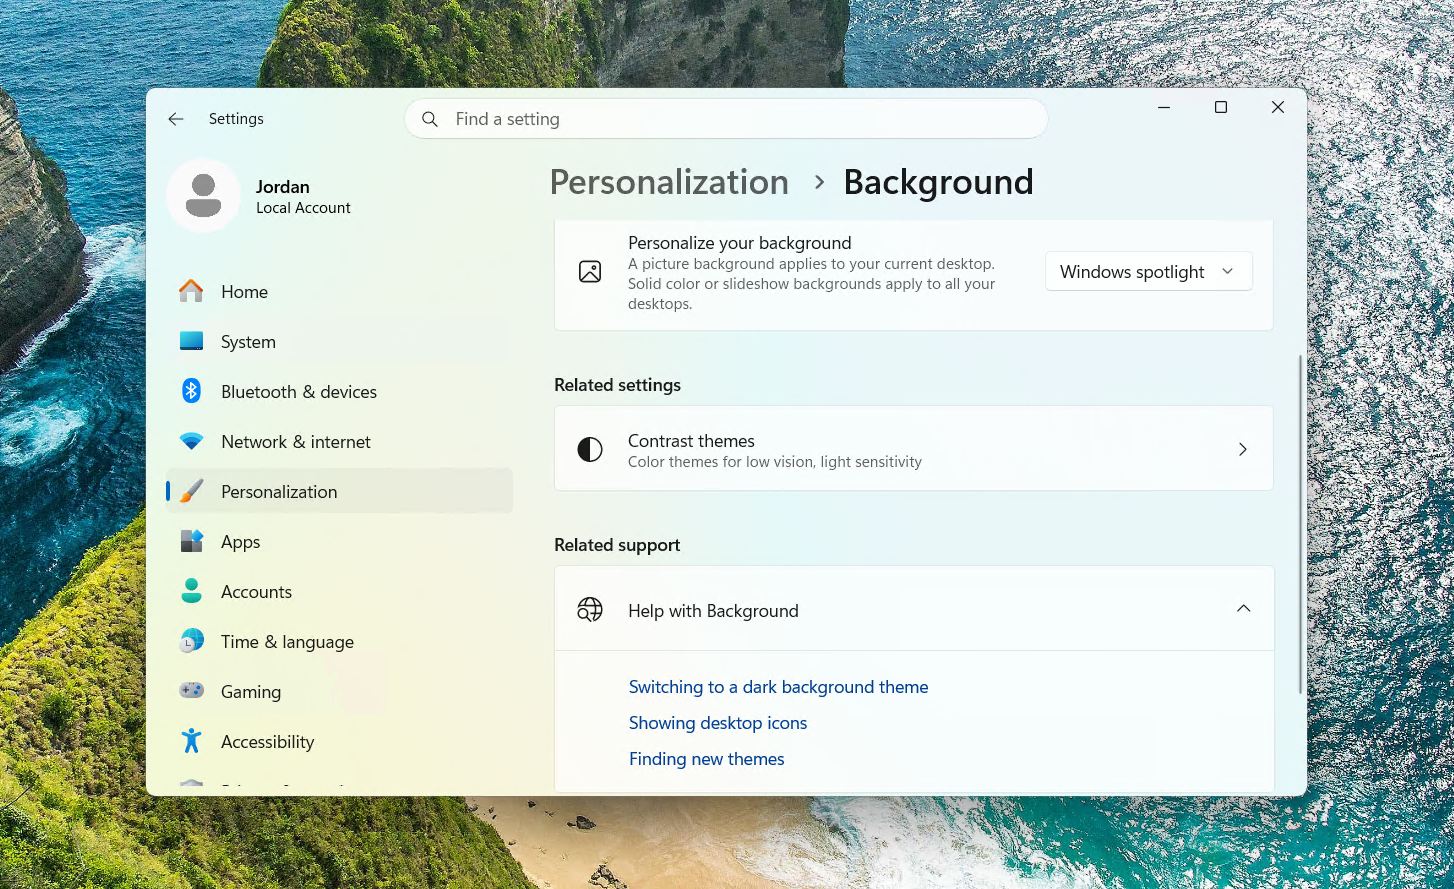
- Click Background to open the background customization options.
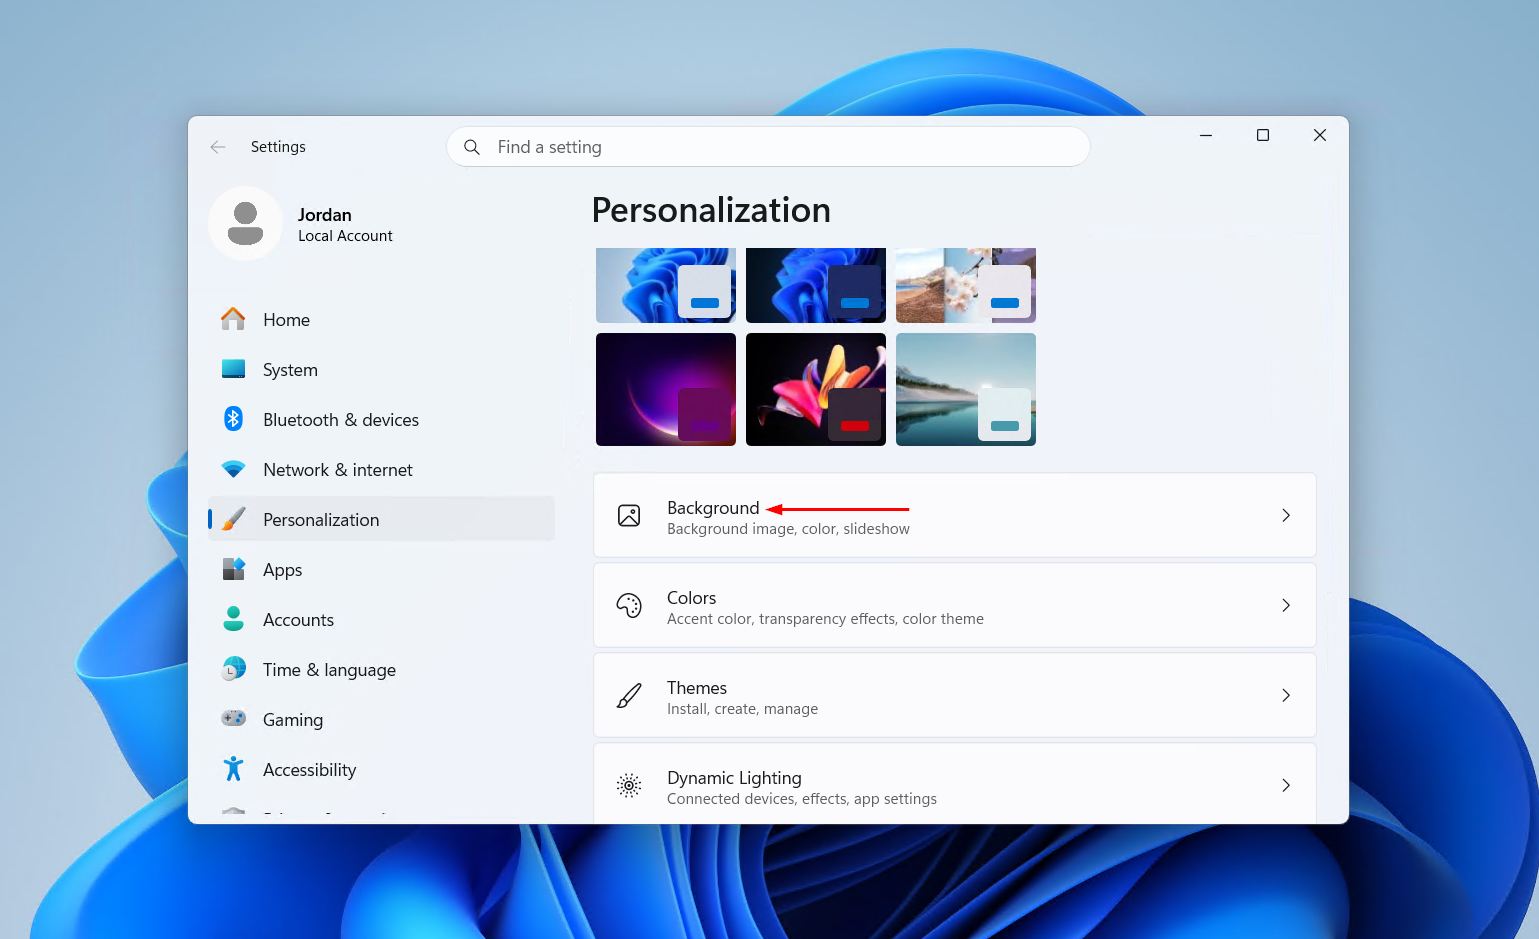
Alternatively, open the Settings app directly, go to Personalization, and then select Background.
Choosing a Background Type
At the top of the Background settings page is the Personalize your background dropdown menu. It contains three main options:
- Picture: Displays a single static image as the desktop background.
- Solid Color: Fills the desktop with one flat color, with no image involved.
- Slideshow: Rotates through a folder of images at a set interval.
There is also a Windows Spotlight option, which automatically pulls in a new image from around the world each day. Select whichever option matches the intended use.
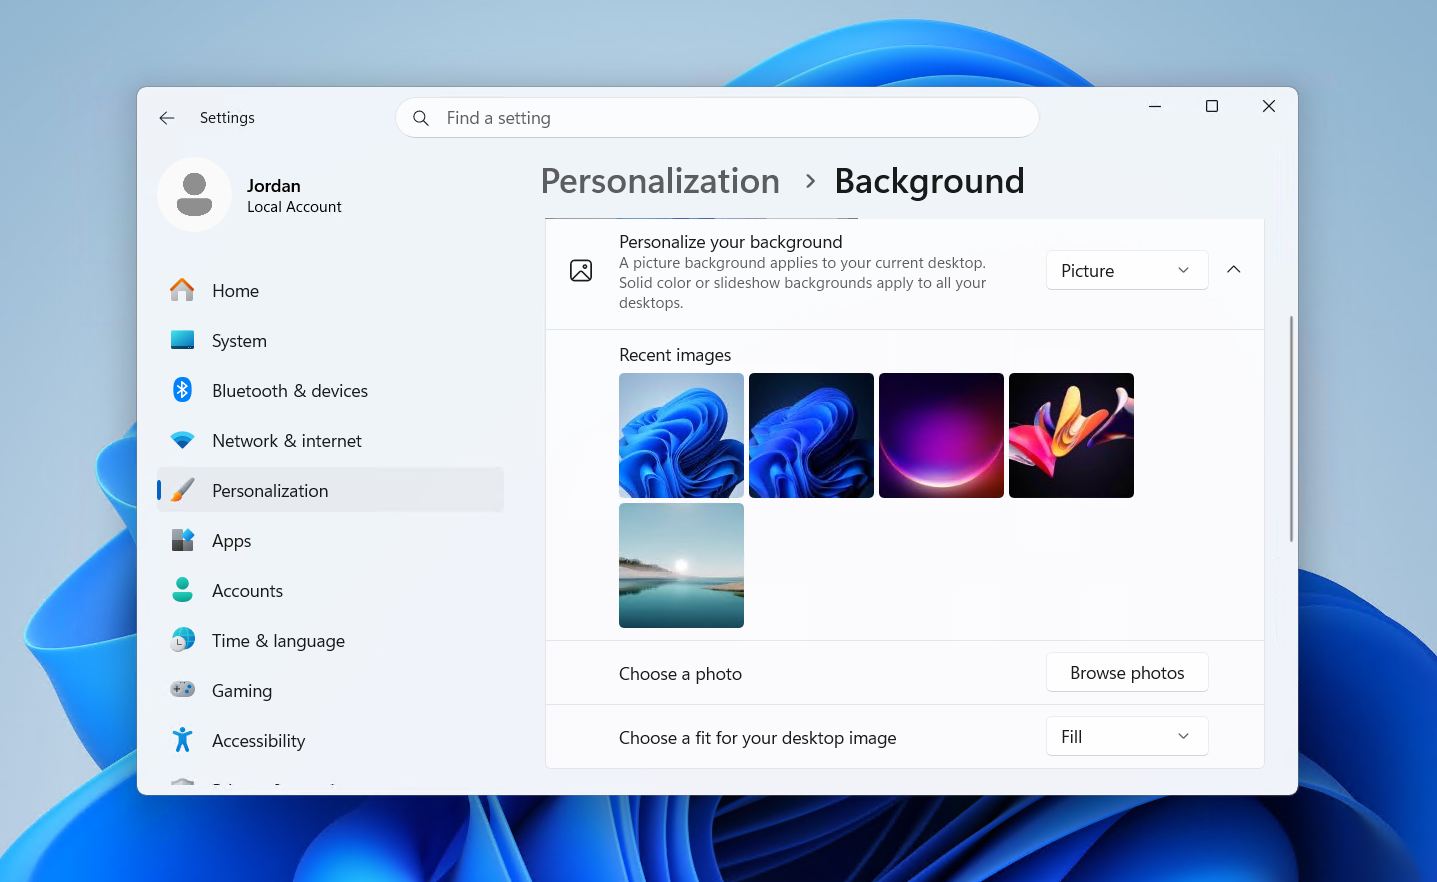
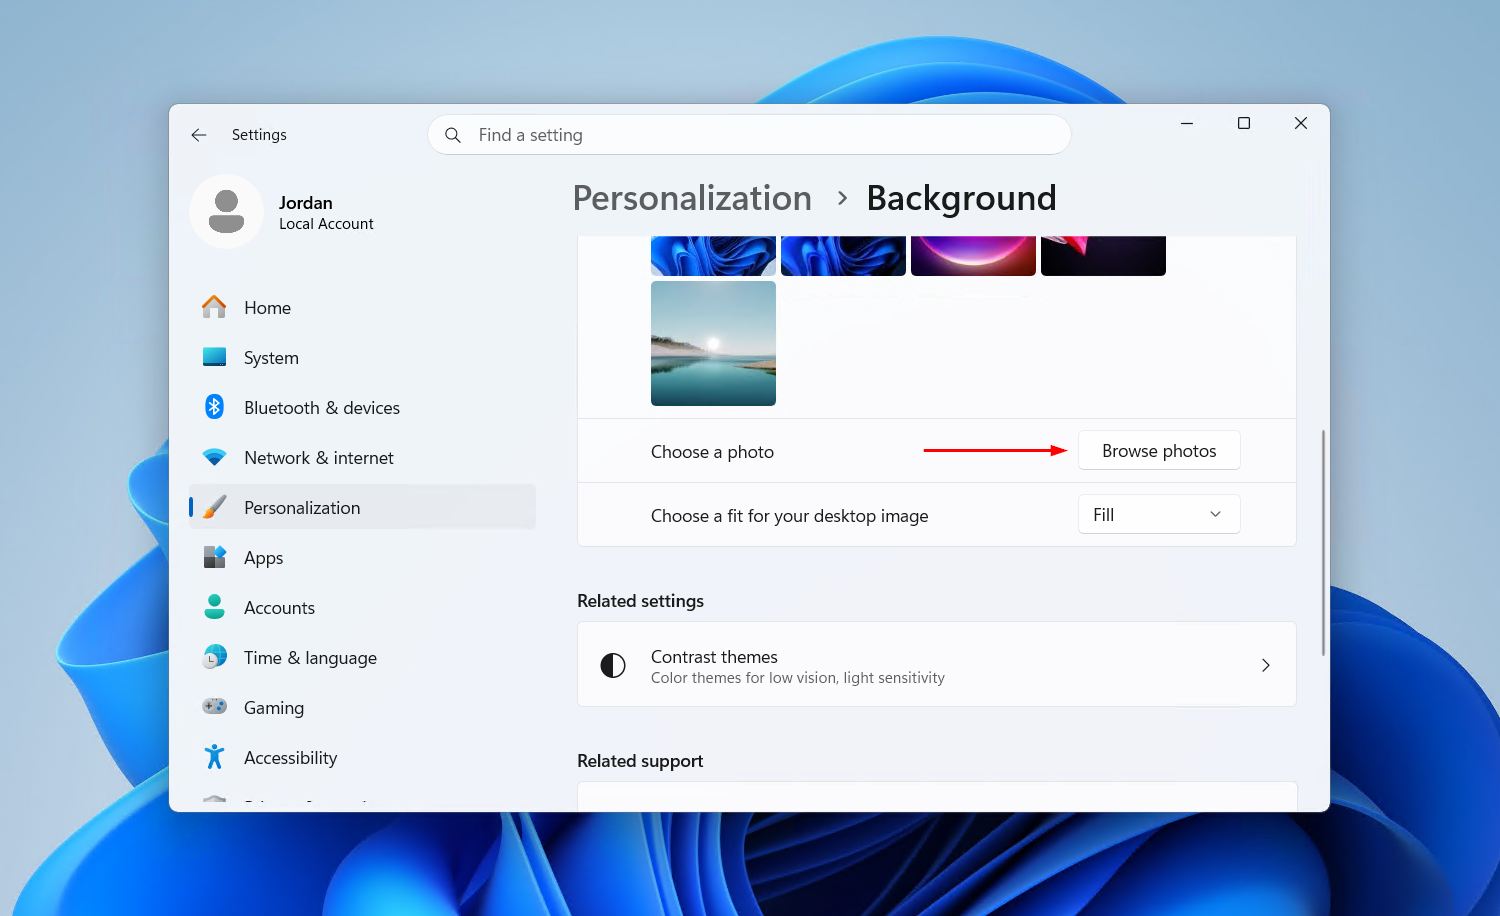
Setting a Picture as Your Background
After selecting Picture from the dropdown, a set of recent images will appear as quick options. To use a custom image from local storage, follow these steps:
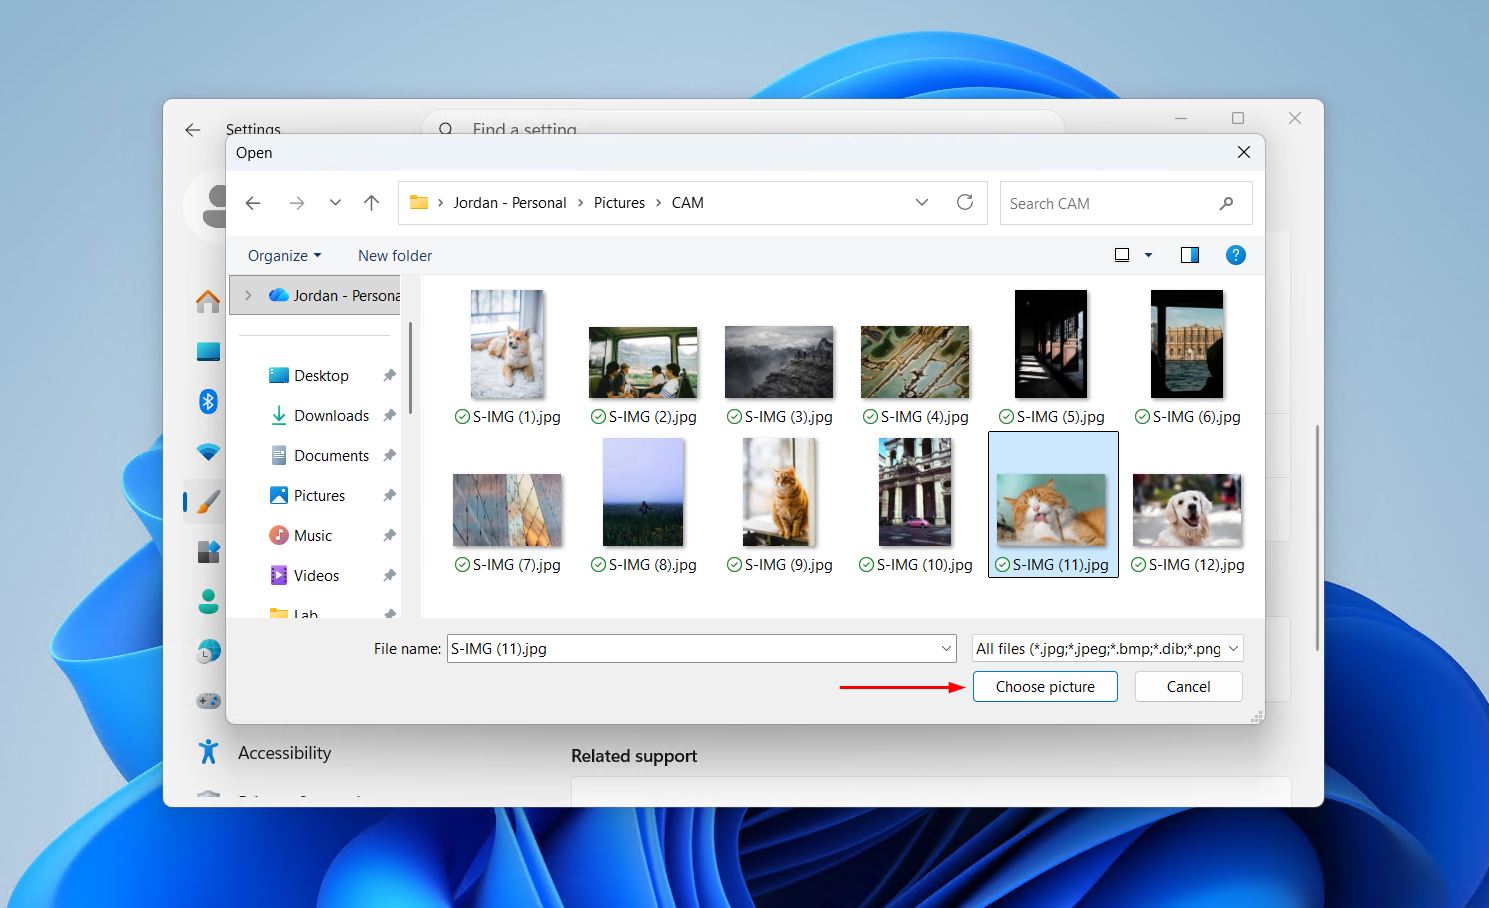
- Click Browse photos under the recent images section. A file browser will open.
- Locate and select the image file to use, then click Choose picture. The wallpaper will update immediately.
- Open the Choose a fit for your desktop image dropdown to adjust how the image fills the screen.
The available fit options are:
- Fill: Expands the image to cover the entire screen, cropping any overflow.
- Fit: Scales the image to fit within the screen while keeping the original proportions. Bars may appear on the edges if the aspect ratio doesn’t match.
- Stretch: Stretches the image across the full screen, which can distort it if the aspect ratio differs.
- Tile: Repeats the image across the screen in a grid pattern, useful for small or pattern-based images.
- Center: Places the image in the center at its original size, with a border visible if it’s smaller than the display.
- Span: Spreads a single image across multiple monitors, making it a good choice for multi-display setups.
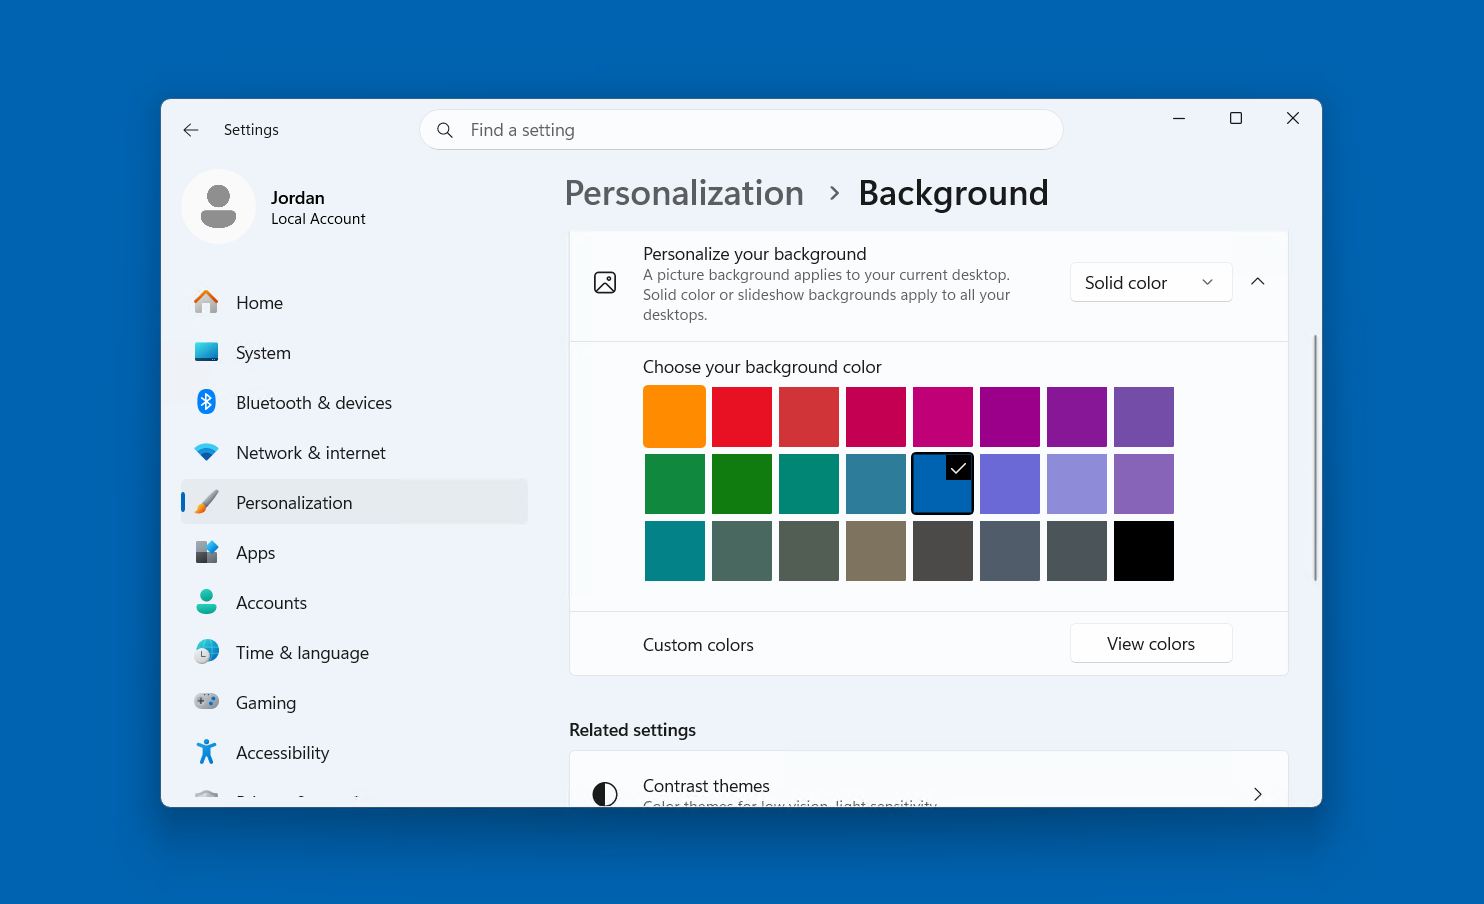
Using a Solid Color Background
Select Solid color from the Personalize your background dropdown to switch to a plain color desktop.
- Choose a color from the preset color palette that appears on screen. The desktop background updates immediately.
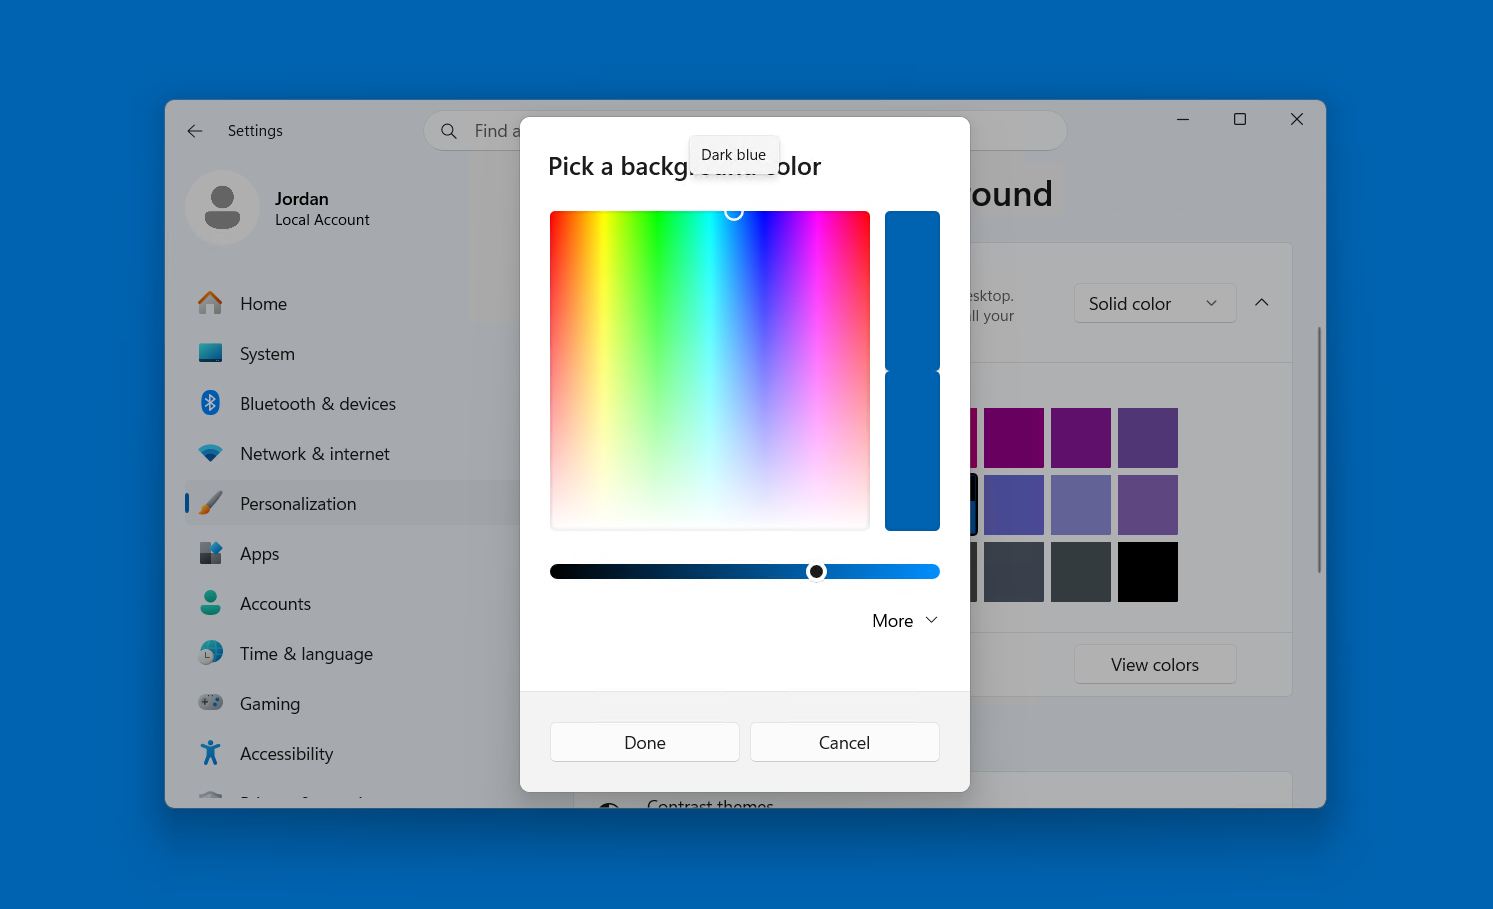
- Click View colors to open a more detailed color picker if the preset options don’t include the desired shade.
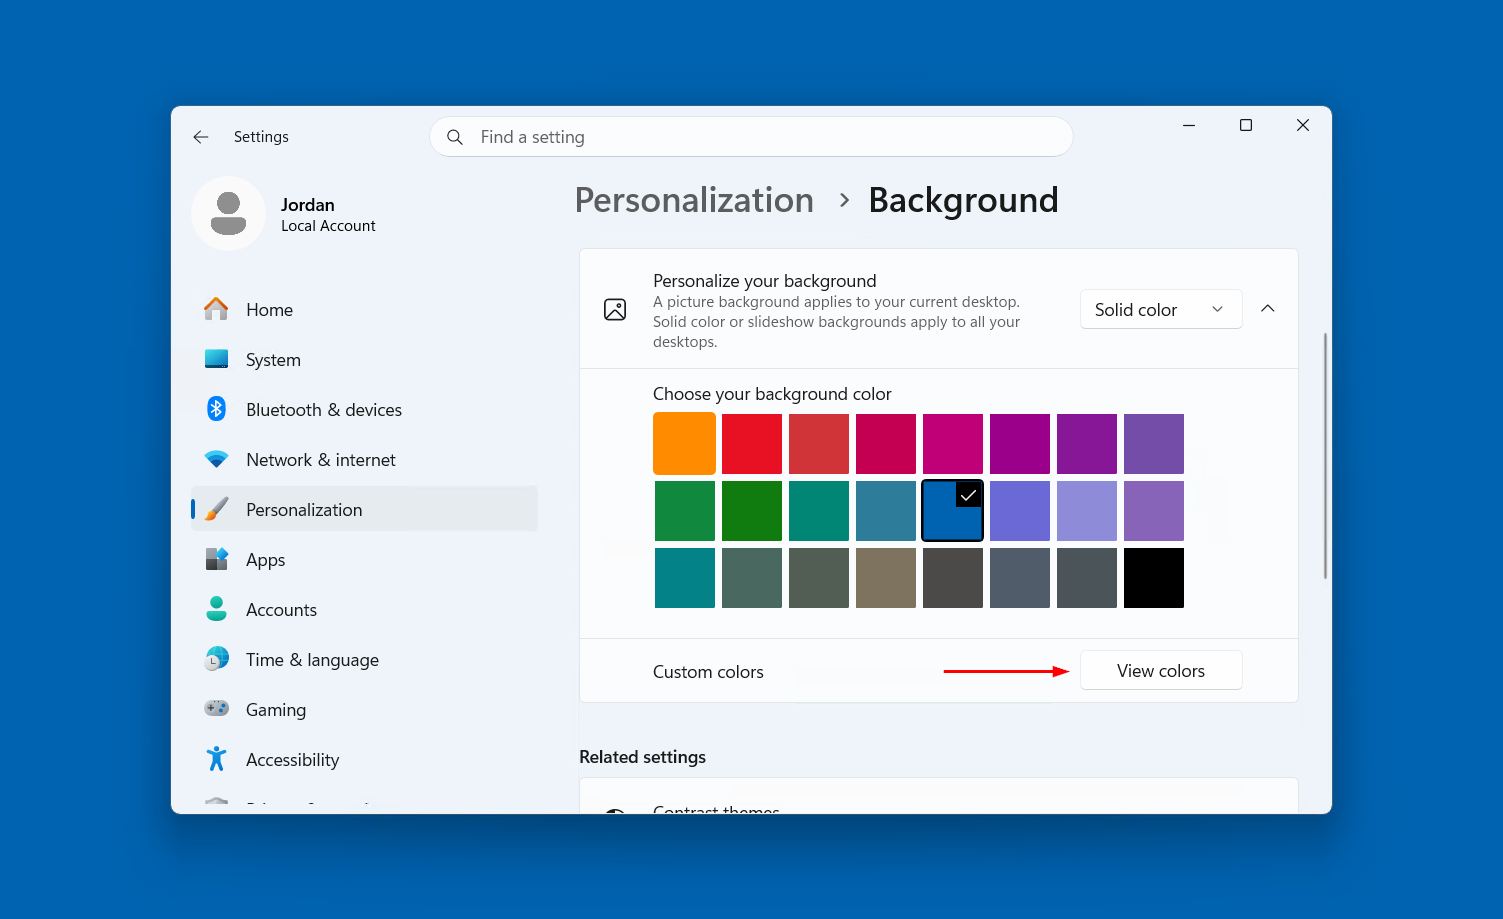
- Enter a specific hex value in the Hex field to use an exact color. This is useful for matching a brand color or a specific palette.
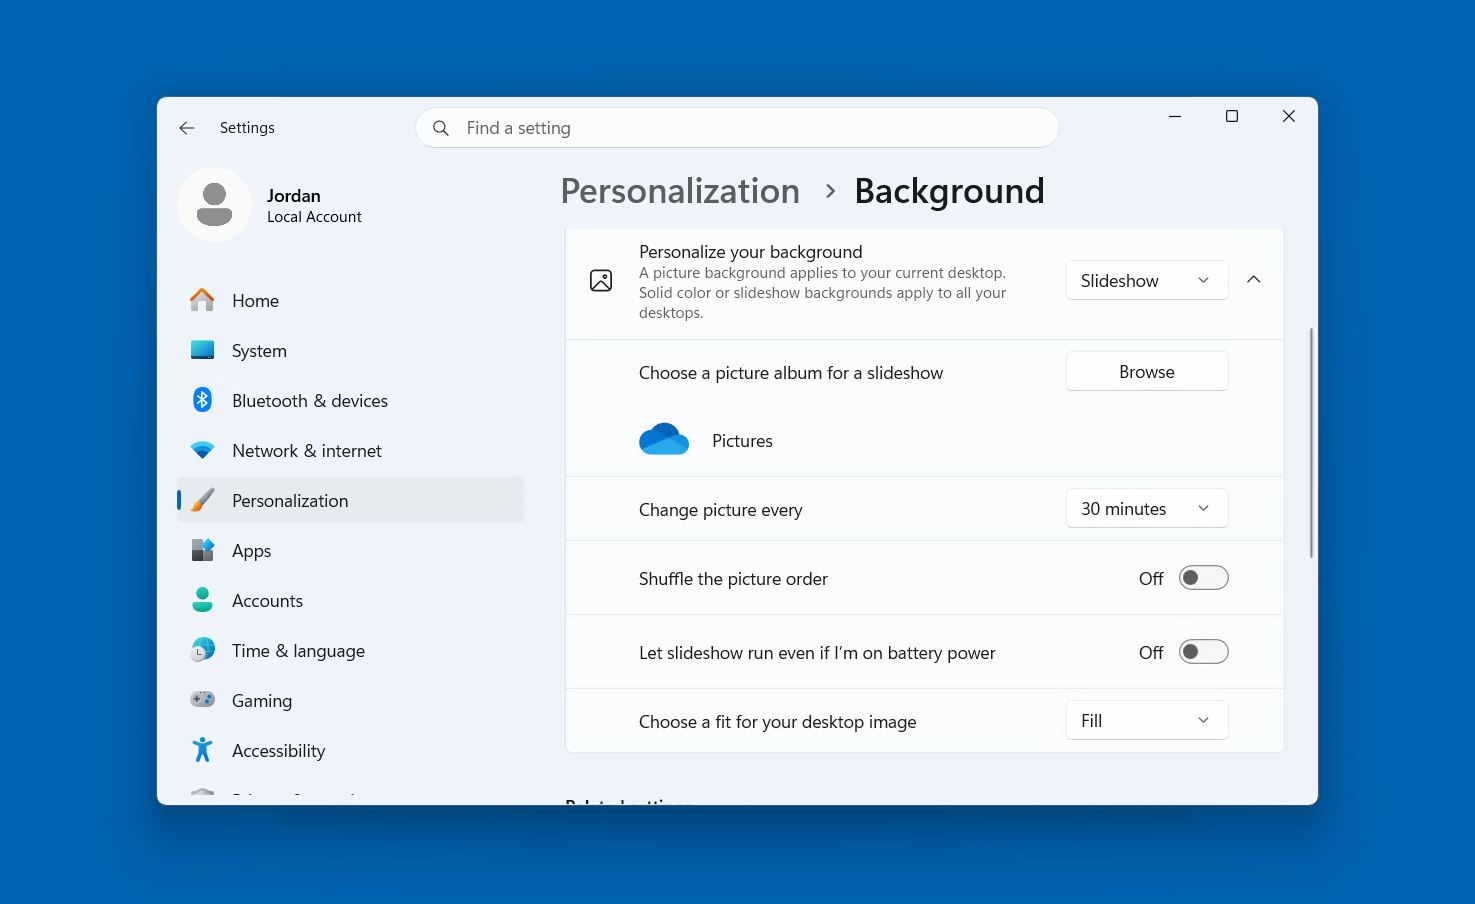
Setting Up a Slideshow Background
The slideshow option cycles through images in a selected folder automatically.
- Select Slideshow from the Personalize your background dropdown.
- Click Browse next to the Choose albums for your slideshow field. Select the folder that contains the images to rotate through.
- Open the Change picture every dropdown and select a rotation interval. Options range from 1 minute to 1 day.
- Toggle Shuffle on if the images should play in a random order rather than sequentially.
It’s also worth noting that if multiple virtual desktops are in use, each one can have its own background picture. Right-click any image in the Recent images section and select a specific desktop to apply it to. Users who frequently switch between virtual desktops may find this a useful way to keep workspaces visually distinct.
Why Windows Won’t Let You Change the Background
If the background settings appear grayed out or are not responding, the most likely cause is that Windows 11 is not activated with a valid license. Microsoft restricts several personalization features, including the ability to update the Windows 11 background, when the operating system is running without proper activation.
To check the activation status:
- Open Settings and go to System.
- Scroll down and select Activation. The current activation status is displayed here.
- If Windows shows as not activated, follow the prompts to enter a valid product key or link a digital license.
Once the license issue is resolved and Windows is properly activated, the background settings will become available again.
Conclusion
To sum up, changing the background in Windows 11 comes down to a right-click on the desktop, selecting Personalize, and choosing the right option from the Background settings page. Whether the goal is a single photo, a flat color, or a rotating slideshow, the controls are all in one place and easy to work with. If any of the options appear unavailable, checking the activation status under System > Activation is the first step to restoring access. For users who want to go further with personalization, there are additional options to customize the Start Menu and other elements of the Windows 11 interface.