Setting up your TP-Link Archer AX1500 Router for Spark NZ Fibre service is a straightforward process. This guide provides detailed steps to get your internet connection up and running smoothly.
Step 1: Connect the Hardware
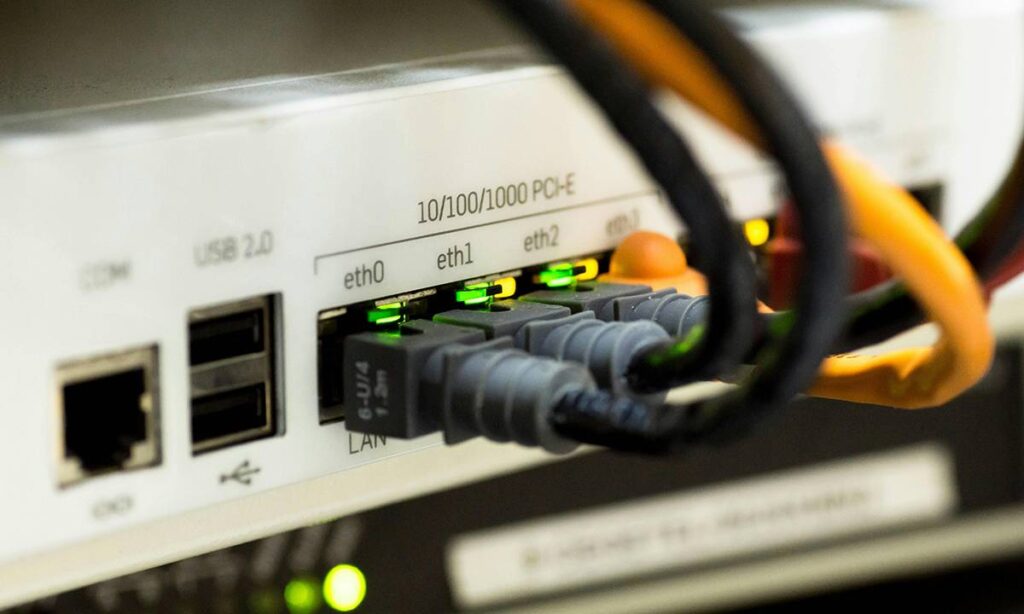
- Connect the ONT to the Router:
- Plug the Ethernet cable from your ONT (Optical Network Terminal) into the WAN port (blue port) on the back of the TP-Link Archer AX1500 Wi-Fi 6 Router.
- Connect Your Device:
- Use another Ethernet cable to connect your PC or laptop to one of the LAN ports (LAN 1-4) on the router.
- Alternatively, you can connect wirelessly by searching for the router’s default Wi-Fi network (printed on the label underneath the router).
- Power On:
- Plug the router into a power source and turn it on.
Step 2: Access the Router’s Web Interface
- Open a web browser on your connected device and go to http://192.168.0.1.
- Log in with the default credentials:
- Username:
admin - Password:
admin(unless it has been changed). - You may be prompted to set a new password for security.
- Username:
Step 3: Configure the Internet Connection
- Skip the Easy Setup Wizard:
- When prompted, skip the automatic setup and proceed to manual configuration.
- Navigate to Advanced > Network > Internet.
- Modify the following settings:
- Internet Connection Type:
PPPoE - Username:
user@spark.co.nz - Password:
password - MTU Size (in bytes):
1492
- Internet Connection Type:
- Click Save to apply the changes.
Step 4: Configure VLAN Settings
- Go to Advanced > Network > IPTV/VLAN.
- Enable IPTV/VLAN settings:
- IPTV/VLAN:
Enable - Mode:
Custom
- IPTV/VLAN:
- Enter the VLAN IDs as follows:
- Internet VLAN ID:
10 - VoIP VLAN ID:
11 - IPTV VLAN ID:
12
- Internet VLAN ID:
- Click Save to apply the settings.
Step 5: Test the Connection
- Ensure the router’s status shows an active internet connection.
- Open a web browser and verify that you can access the internet.
- If you have Spark VoIP services, check that your phone line is working.
Additional Tips
- Wi-Fi Configuration:
- For better security, customize your Wi-Fi network name (SSID) and password under.
- Firmware Update:
- Ensure your router is running the latest firmware.
- Troubleshooting:
- If the internet connection fails, double-check the PPPoE credentials and VLAN settings.
- Reboot the router and ONT if necessary.
Conclusion
By following these steps, you should now have your TP-Link Archer AX1500 Router fully configured for Spark NZ Fibre service, providing reliable and fast internet access.
Sources
What did you think of our post?